
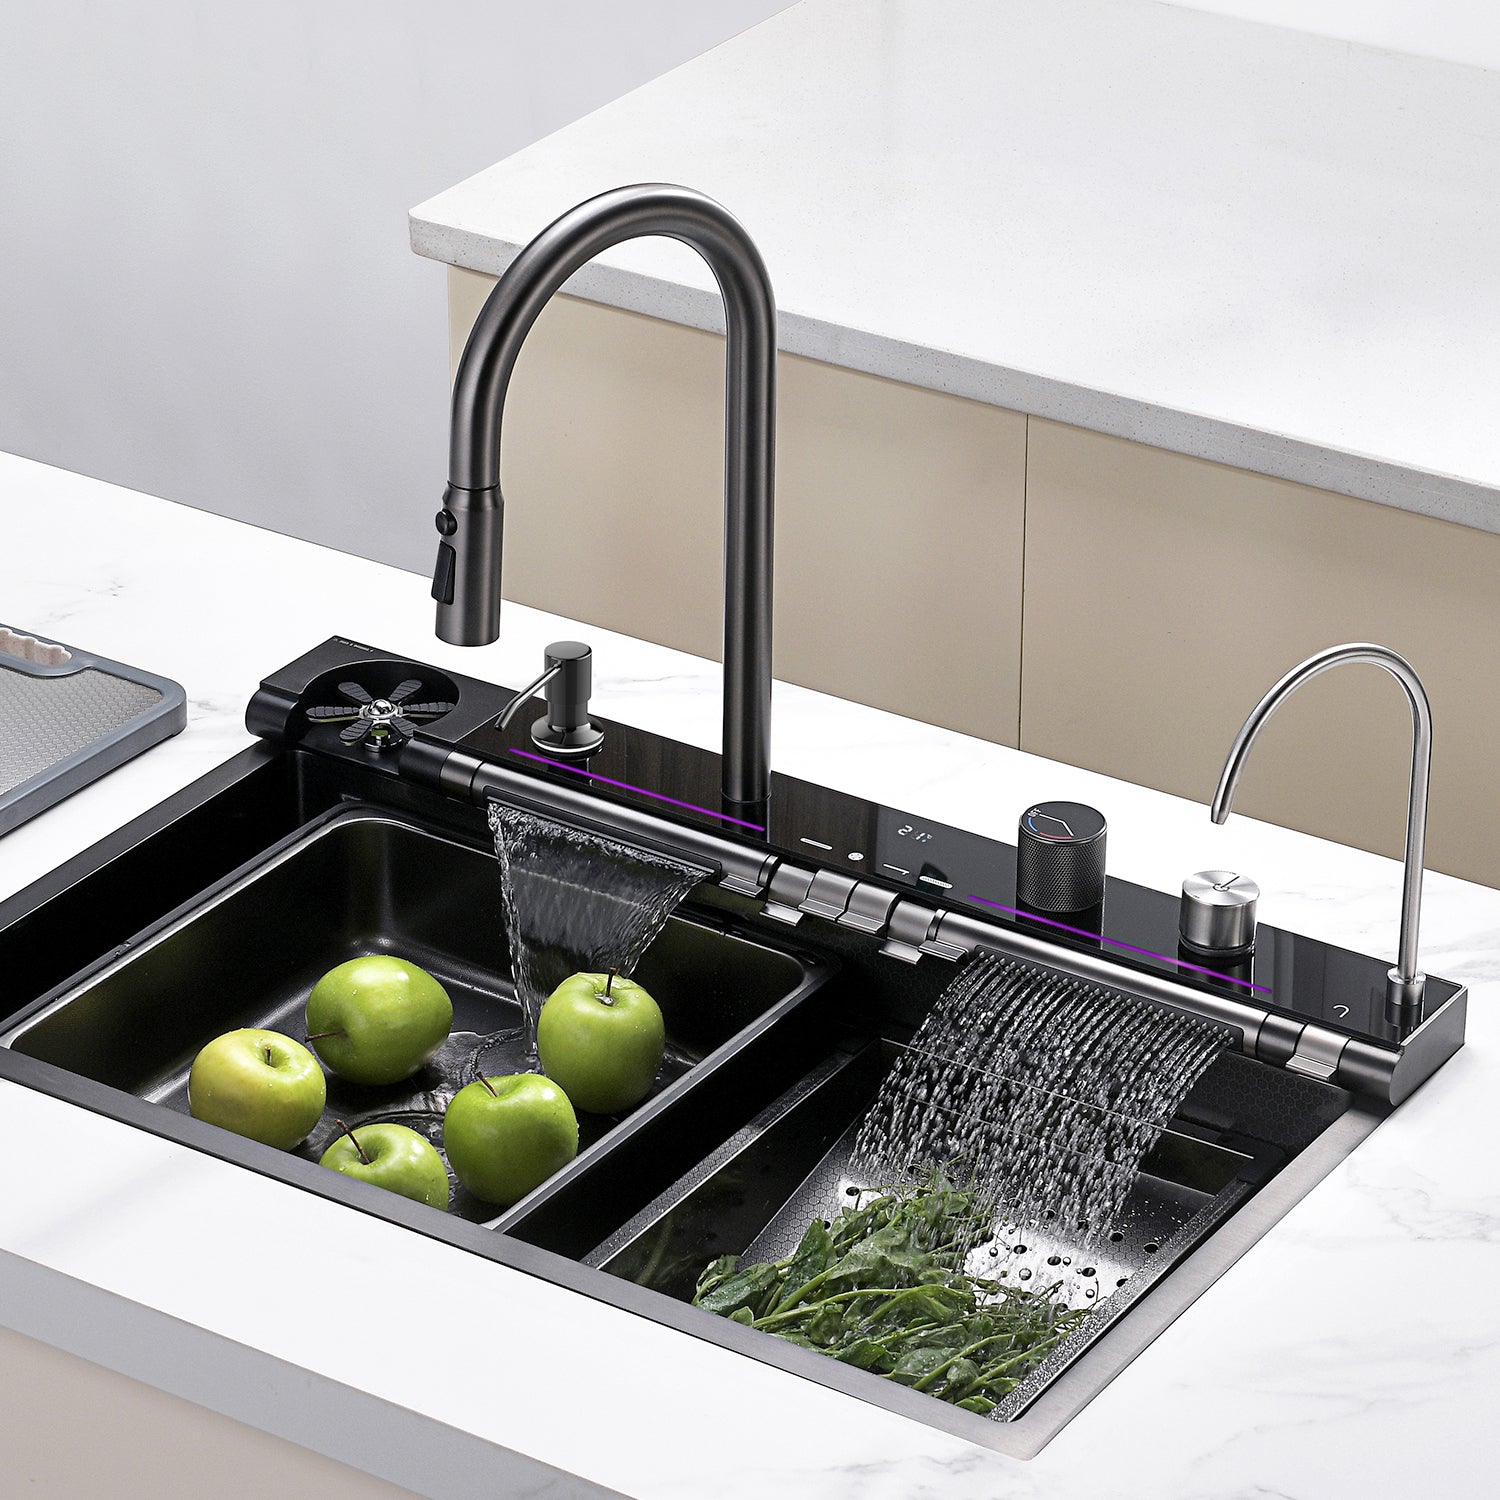
How to Install an Undermount Kitchen Sink Like a Pro!
Installing an undermount kitchen sink may seem like a daunting task, but fear not! With the right guidance and a bit of elbow grease, you can tackle this project like a pro. Whether you're upgrading your current sink or embarking on a kitchen renovation, installing an undermount sink can elevate the look and functionality of your space. Let's explore the installation process in detail, covering everything from preparation to the final touches.
How to Install an Lefton Undermount Kitchen Sink?
Installation Precautions
Before we jump into the installation steps, let's go over some important precautions to ensure a smooth and safe installation process:
-
The installation of your undermount kitchen sink must comply with plumbing and building codes specific to your location. Safety first!
-
The hot and cold water supply must be turned off.
- Before installation, please unpack the new water tank and check whether the product is damaged.
-
The size of the opening of the sink is 3-4cm in length and width of the sink, it is recommended toopen the hole according to the actual object after receiving the goods, to avoid the error of opening the hole, which may lead to the production of mildew and the breeding of cockroaches. (There are many installation methods, which can be negotiated with the installer according to the actual )
-
Take precise measurements for the sink opening, ensuring it aligns perfectly with your chosen undermount sink. Accuracy is key to a seamless installation process.
Kind Tips: Use gloves when handling and handling the sink with areas where the metal surface is very sharp and can easily cause scratches.
Installation Steps
1. The opening size of this handmade sink is 720*430mm.Use a pencil to draw the opening size on the table, and then use a tool to open the hole.

2. Before installing the sink, install the drain and overflowpipe cover. (This sink is suitable for a 110mm aperture drain)

3. Install the deodorant water seal cup and the drainconnection pipe.

4. Apply adhesive or caulk around the bottom of the sink Turn the sink over, carefully place it into the countertop opening, and secure all drains and accessories. Press down firmly so that the sink rests on the countertop.

5. Install the drain pipe and insert the drain pipe into thesewer pipe.

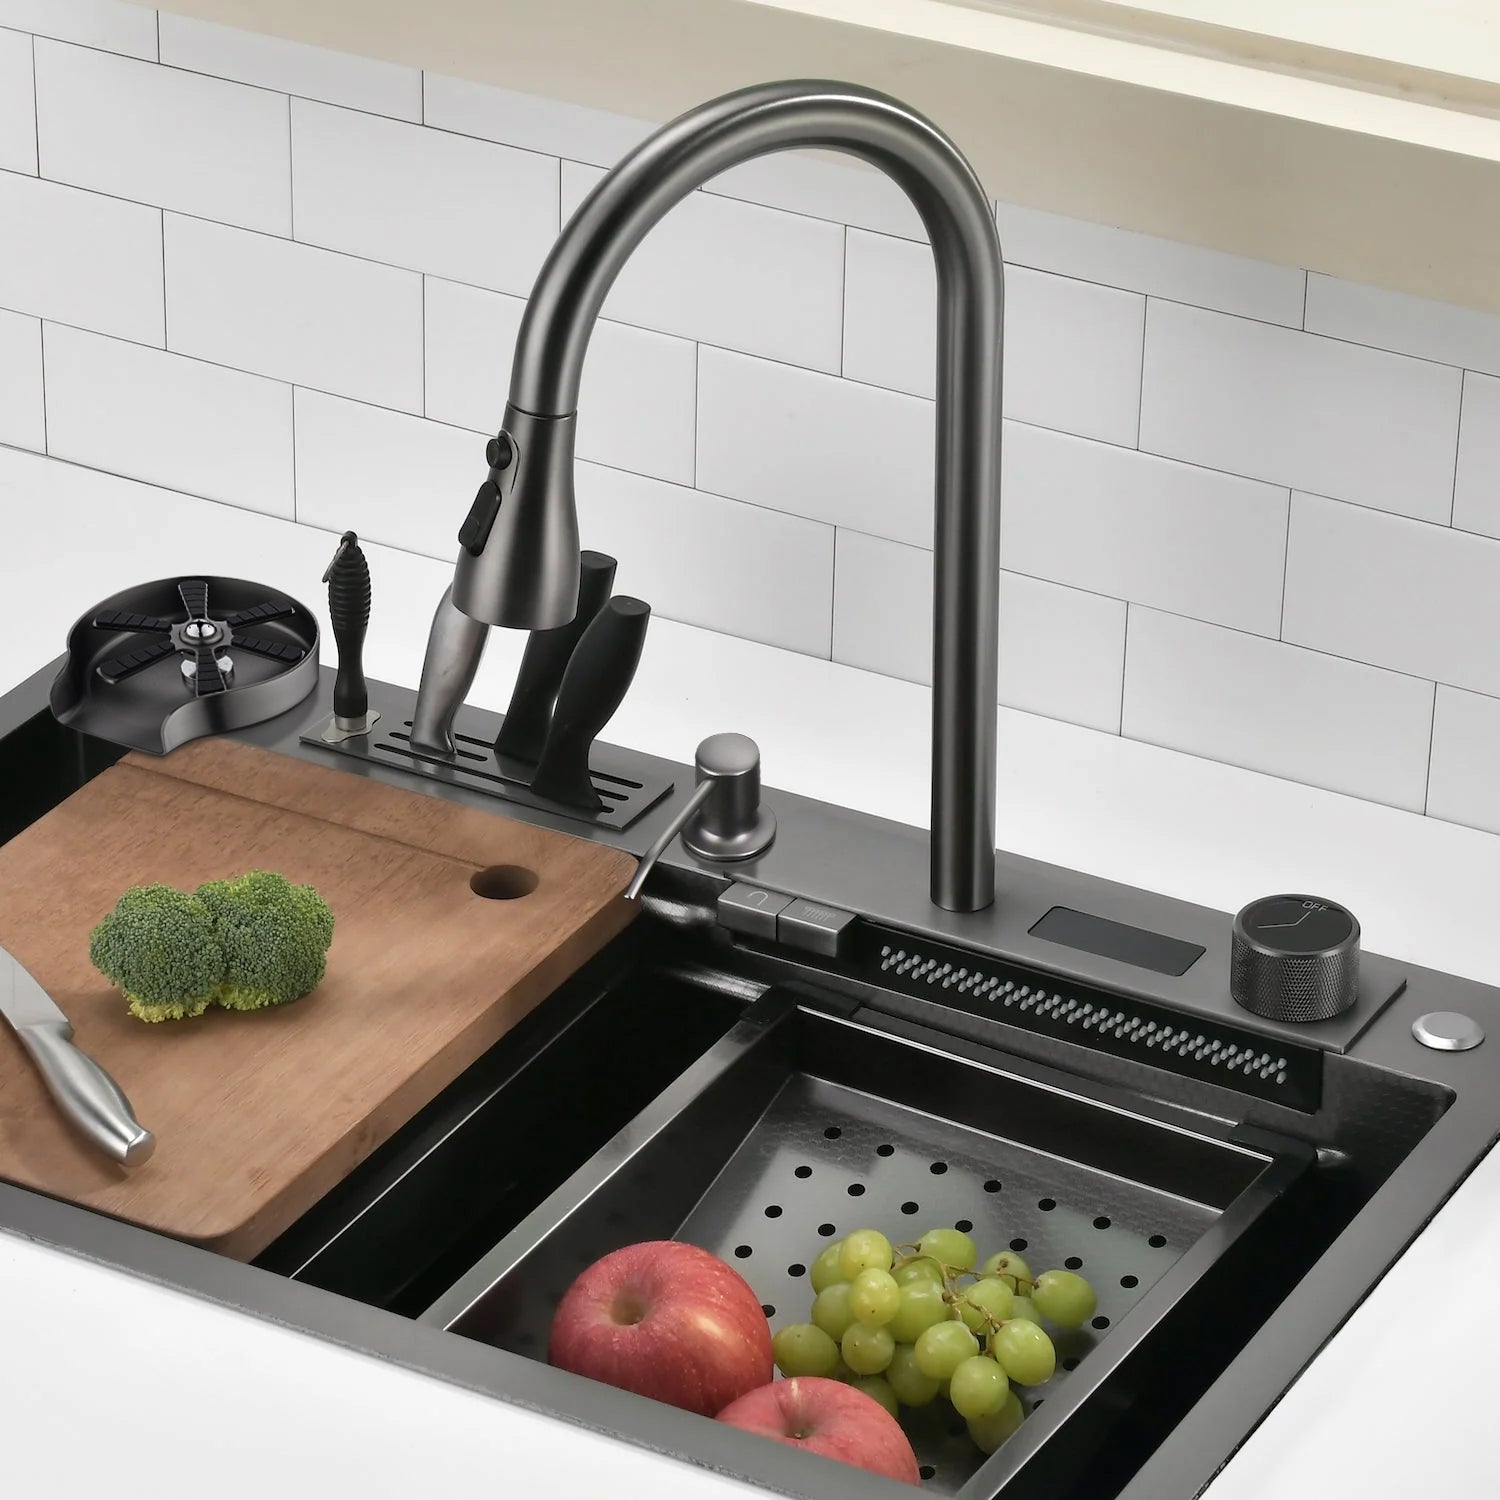
6. Gently place the triangular drain basket and the stainlesssteel basin into the steps in the sink, which can be moved left and right at will.

Watch the full Lefton undermount kitchen sink installation video:
How to Install an Undermount Kitchen Sink Faucet?
Now that your sink is securely in place, it's time to install the faucet! Follow these steps for a kitchen sink faucet installation:
Installation Precautions
- Be sure to rinse the water supply pipe thoroughly first to remove impurities in the pipe.
- If installing a new sink, install the faucet on the sink first.
- The maximum working pressure of the shower head: 0.5Mpa (5bar). When the water pressure exceeds 0.5Mpa (5bar), a pressure reducing valve must be installed. The maximum working temperature and ambient temperature of the shower head: is 60° Please pay special attention to the fact that the arm tube connecting the shower to the shower needs to be separated from the heater, otherwise the shower and its seals may be damaged, and even the user may be injured.
Installation Steps
1. Install the gasket (1) with therubber ring facing down. Install the faucet handle on the right.

2. Screw the screw (2) into themounting ring (3) until the screw protrudes 6mm from the mounting ring.

3. Install the gasket (4) on the tooth tube (5) and screw the mounting ring onto the tooth tube.

4. Adjust the position of the screws on the mounting ring and tighten.

5. Link and lock the hose (6) to the water source. Connect the hose with the "GOLD" sticker (7) to the cold water.

6. Turn on the hot and cold watersource and let the water flow out for about a minute.

7. The pull-out pipeis connected to the shower head and penetrated from the elbow to check whether the pull-out is smooth.

9. Loosely install the weight (9) onthe shower hose (8).

10. Connect the shower hose to thefaucet adapter.

11. As shown in the picture, adjustthe weight to the proper position and lock it.

12. If necessary, adjust the weight tothe proper position.

Related reading: How to Install a Bathroom Sink Faucet?
Conclusion
Congratulations! You've successfully installed an undermount kitchen sink and faucet, transforming your kitchen into a stylish and functional space. Remember to follow the precautions and installation steps carefully to achieve the best results. With your new LEFTON sink, you can enjoy years of quality, aesthetics, and worthiness in your kitchen.
Explore plus
Partagez ceci
Popular posts


laissez un commentaire